


 0086-15019694352
 info@cnvalen.com
-
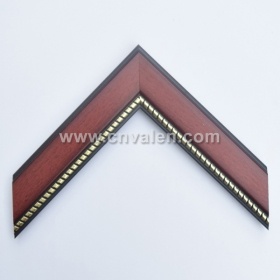
 Plastic L Shape Picture Painting Floating Frame Mouldings For Canvas Framing
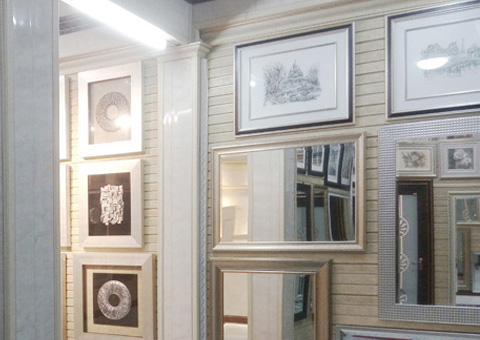
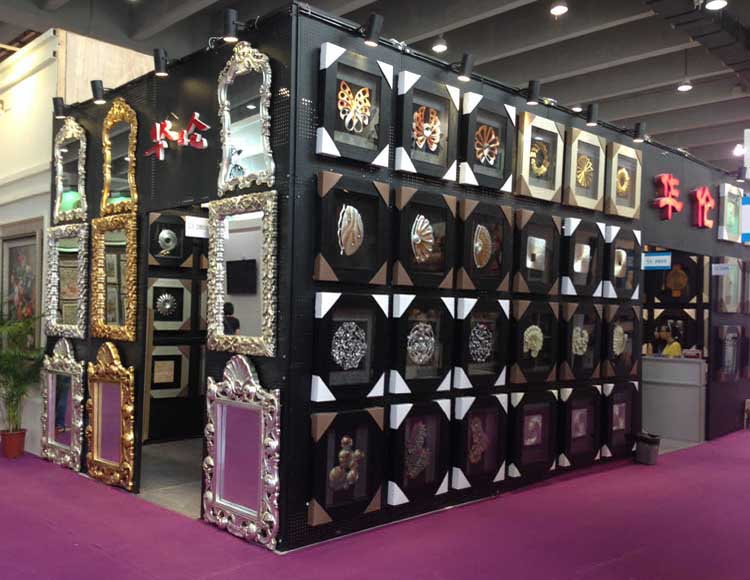
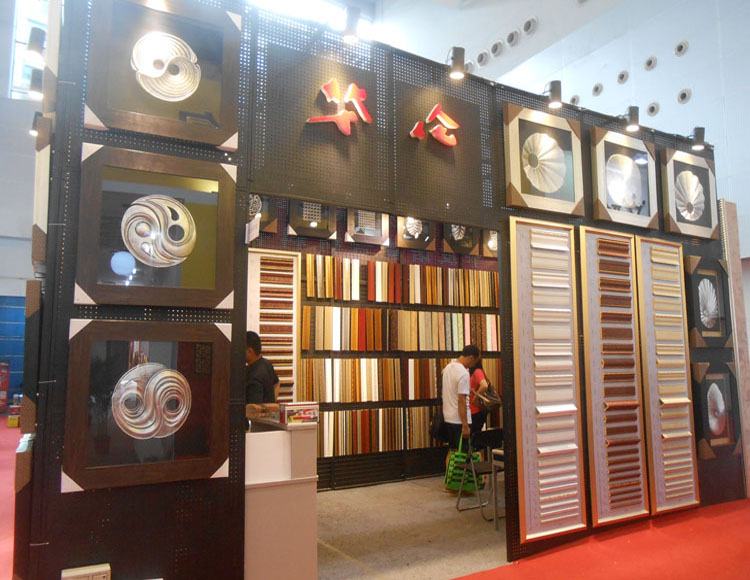
Simple L Shape Gold Black Plastic Picture Painting Floating Frame Mouldings For Canvas Framing Picture Frame Mouldings, plastic material,is used to making mirror frame, photo frame, picture frame, art frame, wall decorative, canvas frame and construction moulding.You could cut and join it according to your size.
-
 Easy Install Wallboard Interior Wall Panel Cladding For Home Decoration
Waterproof decorative PVC Decorative Wall Panels with leaf pattern wall cladding panel Insulation, moisture, fire, super hardness, waterproof, moisture, low carbon environmental protection, corrosion and durable, easy installation, easy to scrub without deformation. save space
-
 7CM Plastic Mirror Frame Picture Frame Moulding Profile
Picture Frame Mouldings, plastic material,is used to making mirror frame, photo frame, picture frame, art frame, wall decorative, canvas frame and construction moulding.You could cut and join it according to your size.
-
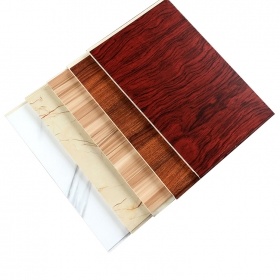
 Plastic Decor Frame Moulding Oil Painting Picture Frames Wholesale
Picture Frame Mouldings, plastic material,is used to making mirror frame, photo frame, picture frame, art frame, wall decorative, canvas frame and construction moulding.You could cut and join it according to your size.
-
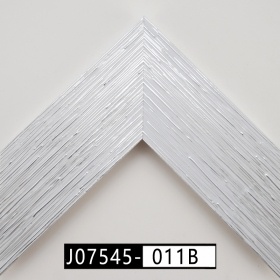
 Beautiful Picture Frames For Sale European Decorative Mouldings
Picture Frame Mouldings, plastic material,is used to making mirror frame, photo frame, picture frame, art frame, wall decorative, canvas frame and construction moulding.You could cut and join it according to your size.
-
 60CM WPC Material Wall Panels cladding for Interior Decoration
Waterproof decorative PVC Decorative Wall Panels with leaf pattern wall cladding panel Insulation, moisture, fire, super hardness, waterproof, moisture, low carbon environmental protection, corrosion and durable, easy installation, easy to scrub without deformation. save space
-
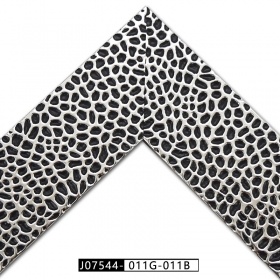
 Custom Cherry Picture Frame Polystyrene Frame Mouldings
Picture Frame Mouldings, plastic material,is used to making mirror frame, photo frame, picture frame, art frame, wall decorative, canvas frame and construction moulding.You could cut and join it according to your size.
-
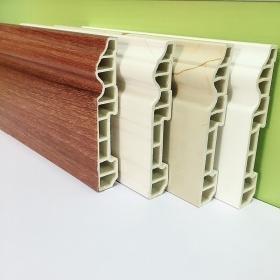 Best Sale Flooring Accessories Floor Skirting Board For Wall Base Decorative Molding
Insulation, moisture, fire, super hardness, waterproof, moisture, low carbon environmental protection, corrosion and durable, easy installation, easy to scrub without deformation. save space